Tutorial
Need help? Follow our step-by-step tutorial for the simplest way to create your Digital Express product.
Step 1
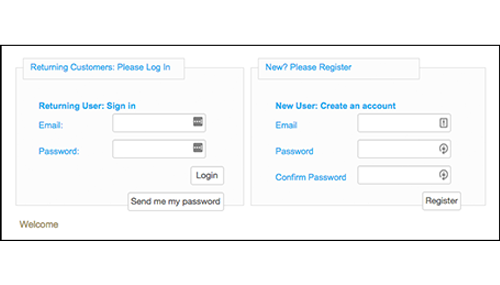
Click on ‘Sign Up’ located at the top-right hand corner of the site. To create your account, fill in your email address and your password then click ‘Register’. A registration mail confirming your username and password should appear in your inbox (check your junk mail folder if it doesn’t appear within a few minutes), but you will be logged into your account automatically after you click the ‘Register’ button.
Step 2
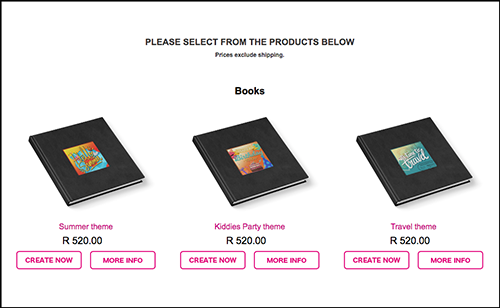
Click on the ‘Products’ tab in the navigation menu bar and select from one of the product showcased on the product page. Click the Create Now button of the selected product. Wait for the product template editor to open up.
Step 3
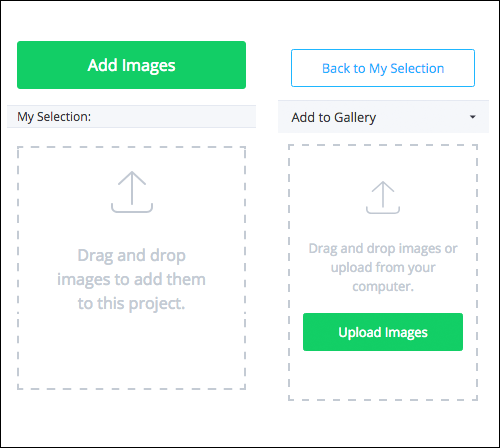
In order to begin creating your book, simply add images to your project by clicking on the green “Add Images” button at the top right of the page, click Add to Gallery, and Upload Images, or simply drag and drop your images into the drag and drop images tray area directly from your computer.
HANDY HINT:To replace or change a photo, simply drag and drop another photo onto the picture box.
Step 4
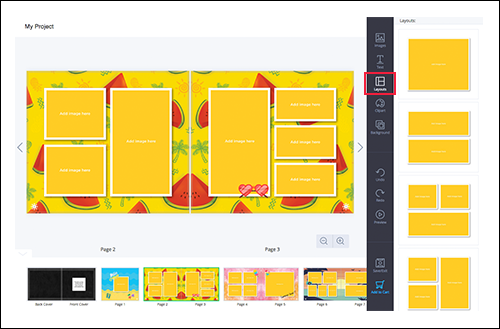
Add your photos to the template by dragging them from the side panel onto the picture boxes provided. You can change the amount/number of images per page by choosing to change the Layout (click on the Layout tab on the right hand bar) then drag to the page you wish to change.

Step 5
If your product template includes clipart graphics such as these, feel free to add, remove, rotate, flip, layer and in general, play around with them on your layout. Use these to customise your product in any way you want.
HANDY HINT:If you click the ‘Order’ button in your template, but the order is not followed through to payment, your product will be saved automatically. You can find it in the ‘My Account’ section of the website. If you have more than one product saved in your account, it is also a good idea to use the project title bar beside each product to name them in order to avoid confusion over which product is which.

Step 6
Once you are happy with the layout of your product you may then click the ‘Add to Cart’ button on the bottom-right hand side of the screen. If you wish to come back and populate your product with more images at a later stage, you should click the ‘Save/Exit’ button. Your product will be saved in the ‘My Account’ section of the website for you to edit at your convenience.
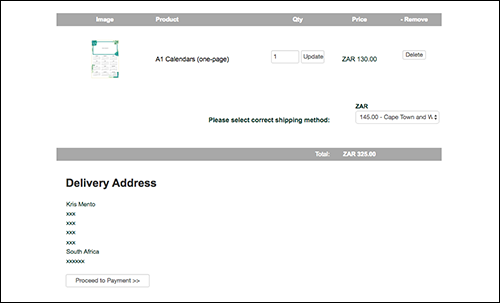
Step 7
The ‘Confirm checkout’ page is the final page you pass through before you reach the payment gateway. At this stage, please ensure that all of your order and address details are correct and most importantly, ensure that you have selected your preferred shipping method from the drop-down list. Once you pass through the payment gateway and pay for your product, your order will be processed.
Website designed and managed by Digital Express.
All Rights Reserved.


